Disassembling a pool table is far from a simple task. It’s a heavy, complex piece of furniture made from fragile and dense materials that requires a careful and methodical approach. Whether you’re moving homes or managing a commercial installation, this operation must be well prepared.
At Déménagement A Plus, we specialize in the disassembly, transport, and reassembly of delicate furniture—pool tables included. This comprehensive guide, based on our field experience, walks you through each step to take apart your table safely and stress-free.
Why Disassemble a Pool Table?
1. To Prevent Damage
The slate surface is extremely fragile—a single bump or tilt can cause an irreversible crack. Likewise, custom wood frames are prone to scratches, cracks, or warping if mishandled.
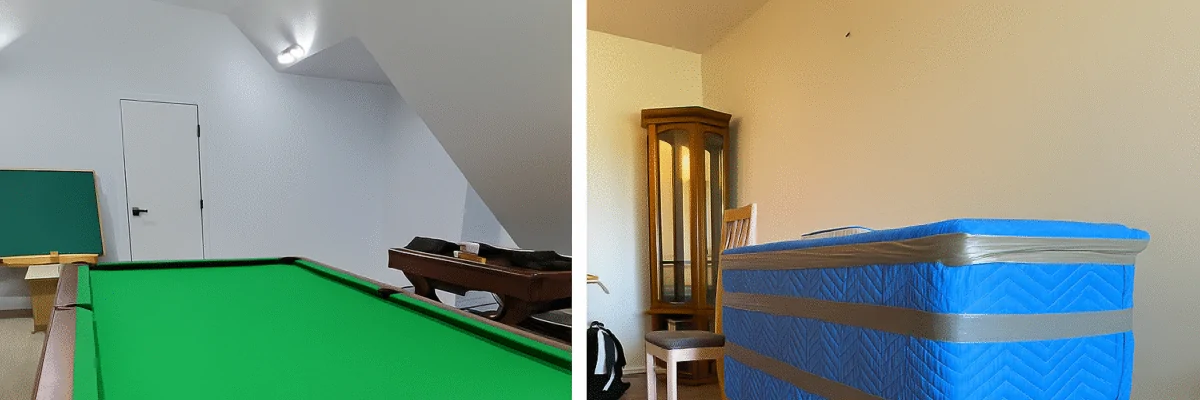
2. To Navigate Tight Spaces
Doorways, stairwells, elevators—urban settings often come with spatial constraints. Disassembling allows you to move each component safely and with more flexibility.
3. To Save Time During Reassembly
When dismantled carefully, with each piece labeled and hardware sorted, reassembly becomes faster and more accurate—especially important for professional or public spaces.
Tools You’ll Need
Before starting, gather the following tools:
• Allen key or socket wrench (depending on your model)
• Phillips and flathead screwdrivers
• Level
• Tape and marker for labeling
• Resealable bags for bolts and screws
• Work gloves
• Heavy blankets or foam padding
🛠️ Pro Tip – Déménagement A Plus: Take photos at each step to help guide the reassembly process later.
Disassembly Steps
1. Remove the Pockets
If accessible, gently flip the table to reach the underside where the pockets are secured. Unscrew or unclip them as needed. Place all screws in a labeled bag.
2. Remove the Rails
Rails are usually screwed in from below. Use the proper tool to remove them, following a logical order (e.g., clockwise). Note their original placement if you want to reattach them identically. Some tables have corner-connected rails, which require extra care.
3. Remove the Felt
The felt may be glued or stapled down. It must be removed to access the slate screws. Take your time—especially if you plan to reuse the fabric. If you’re replacing the felt, now’s the ideal moment.
4. Disassemble the Slate
This is the most delicate step. Standard tables have three slate panels. Locate and remove the screws, then carefully lift the slabs with two or three people. Lay them flat on a rigid surface, protected by blankets.
❗ Important: Never store slate vertically—it may crack under its own weight.
5. Remove the Legs and Frame
Turn the table over or raise it to access the legs. Remove them, keeping bolts nearby. Then take apart the crossbeams, side supports, and inner frame elements. Store each piece by type in labeled bags or containers.
6. Organize and Protect Components
Group similar parts (slate, wood, metal, fabric, screws). Wrap each one carefully, especially corners and delicate finishes.
After Disassembly: Transport, Storage & Reassembly
Transport
Use a moving truck with proper padding and straps. Load the slate last, laying it flat and tightly secured. Avoid leaving gaps between items to prevent shifting during transit.
Storage
Store all components in a dry, temperature-stable environment. Moisture can warp wood or damage fabric.
Reassembly
Follow the reverse steps, using your photos and labels for guidance. Want a worry-free solution? Déménagement A Plus offers a full-service reinstallation option.
Common Mistakes to Avoid
Lifting slate alone – Dangerous and may result in injury or damage
Not labeling parts – Leads to confusion and delays during reassembly
Storing slate upright – High risk of cracking
Improper packaging – Scratched wood, wrinkled felt, missing hardware
No plan or structure – A haphazard approach leads to costly mistakes
❓ FAQ
1. Can I disassemble a pool table by myself?
It’s highly discouraged. Slate panels can weigh up to 100 kg each and are fragile. Mishandling may cause injury or damage.
2. Can I reuse the felt after disassembly?
Yes, but only if it’s in good condition and removed gently. If worn, loose, or damaged during removal, replacement is recommended.
3. How long does it take to disassemble a pool table?
That depends on the table and your experience. On average, it takes 2 to 4 hours with two people.
4. Do I really need to disassemble it to move it?
In most cases, yes. Pool tables are too heavy and awkward to move in one piece. Disassembly allows for safer and easier transport.
5. Can slate be damaged during handling?
Yes. Despite its density, slate is fragile. One wrong move can cause a costly crack. Always lift with two people and use gloves and padding.
6. Does Déménagement A Plus offer disassembly and reassembly services?
Absolutely. We provide full-service disassembly, secure transport, professional storage, and expert reassembly for pool tables across Montreal and surrounding areas.
Related Resources
• 👉 Moving in Montreal: How to Choose the Right Company
• 👉 Your Trusted Moving Service in Montreal
• 👉 Explore Our Services at Déménagement Plus
Conclusion
Disassembling a pool table takes planning, strength, and attention to detail. Given the fragility and value of the materials involved, this task should not be taken lightly.
For peace of mind, trust the professionals. At Déménagement A Plus, we offer complete solutions—from disassembly to transport, storage, and reassembly—all handled with care and precision.
📞 Need help? Contact us today for a free estimate.
🌐 www.demenagementplus.ca


